Beer Photography in Ontario: How I Keep the Head From Dying Before I Get the Shot
I spent over a decade running a restaurant before I picked up a camera for a living. I know what a beer looks like when it's right, because I poured thousands of them and sent back the ones that weren't.
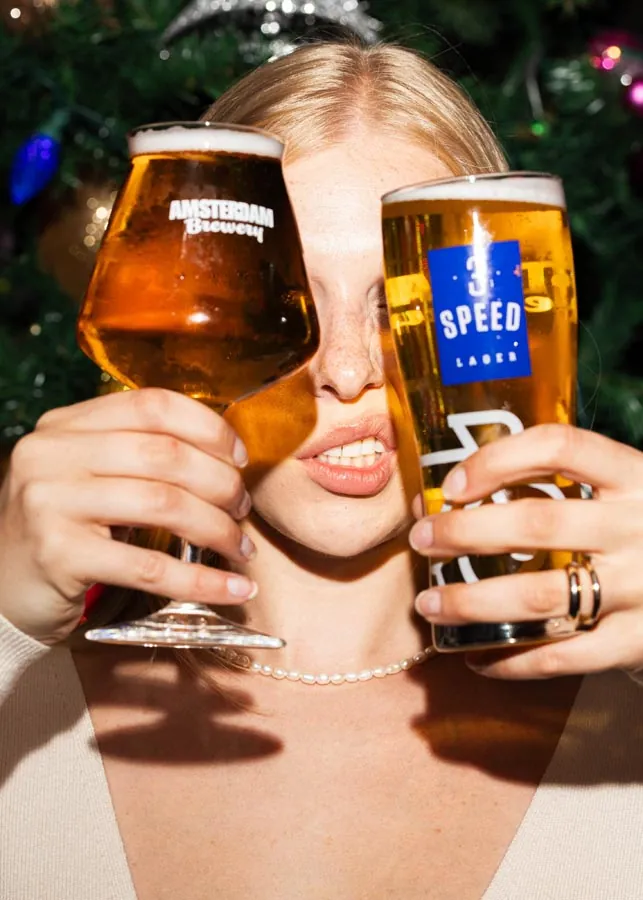
That matters more than any camera setting when you're doing beer photography in Ontario. Breweries and bars call me because the beer keeps dying before anyone gets the shot they wanted.
The head is a countdown clock
A fresh pour has a window. Anyone who's worked behind a bar knows this in their bones. The foam starts loose and tight, full of small bubbles, and within a couple of minutes it starts collapsing into something thin and patchy.
Most photo shoots ignore this completely. Someone pours the beer, then spends time adjusting a light stand, checking a laptop, chatting about the next shot. By the time the camera actually fires, the head has gone from a proper pour to a sad ring around the glass. Nobody notices because nobody's watching the clock. I am always watching the clock.
On my shoots the beer isn't poured until the lights, the background, the glass and the camera are all ready to go. The pour happens last, not first. That sounds obvious. It is obvious. Almost nobody does it.
Glassware matters more than people think
A dirty glass kills carbonation fast. Any trace of oil or detergent residue flattens the bubbles almost instantly, and most bar glasses come out of a dishwasher with exactly that kind of film on them. I bring my own glassware to shoots now, washed by hand, rinsed properly, dried without a towel that leaves lint or residue behind.
I'll also nucleate a glass on purpose. A tiny scratch etched into the bottom of the glass, or even a bit of salt, gives bubbles somewhere to form and keeps them rising steadily through the shot instead of dumping all their gas in the first thirty seconds. Bartenders have used tricks like this for years. Nobody tells the person doing your product photos.
Backup pours aren't optional
I never shoot a beer photograph off one pour. I'll have someone pouring a second and sometimes a third glass while I'm shooting the first, staged and ready so there's no gap. The moment the head on glass one starts thinning, glass two comes in already looking perfect. The client never sees the swap. They just see a beer that looks alive in every frame.
This is the same logic I used running a kitchen. You don't plate one dish and hope it survives the walk to the table. You have a system so the thing going out the door is always the best version of itself, not whatever's left after everything else has been dealt with.
Lighting has to work with the beer, not against it
Beer is basically backlit liquid glass with foam on top. Light it from the front like a burger and it goes flat and murky, the carbonation disappears, the colour turns muddy. I light most beer from behind and slightly to the side, letting light pass through the glass so the bubbles and the colour both show up the way they do when you're actually looking at a pint in a window seat on a patio.
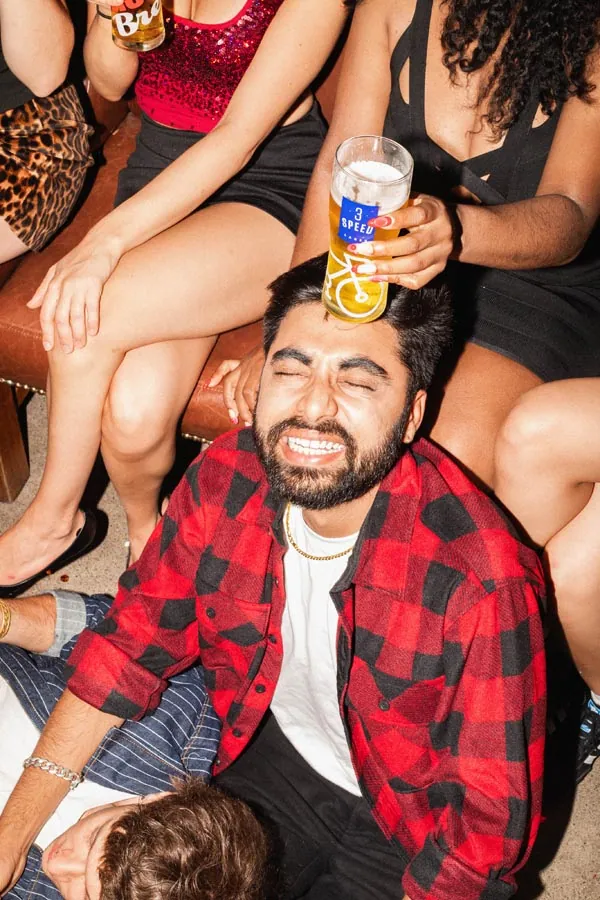
A lot of the photography I see from breweries around southern Ontario gets this backwards. Flat front lighting, harsh reflections off the glass, foam that reads as white foam instead of something with texture and lift. It's not a hard fix once you know what's going wrong. It's just a step most people skip because they're lighting food and beer with the same setup and hoping for the best.
Why this is worth doing properly
A brewery I shot for last year had been using phone photos for their can releases for two years. Fine for a quick post, useless for a can label mockup or a wholesale deck. The difference wasn't the phone. It was that nobody on staff had the time or the discipline to treat a pour like it only has ninety seconds to live.
That's really what beer photography in Ontario comes down to for me. Not a filter, not a trick you can learn from a tutorial in an afternoon. Timing, clean glassware, backup pours ready to go, and light that respects what beer actually is instead of treating it like every other beverage.
I still like a good pint at the end of a long shoot day, by the way. After hours of watching foam die in real time under studio lights, it's nice to drink one without caring how it looks.
All posts